A dusty electric fan can look harmless, but over time, dust, hair, lint, and oily residue can accumulate on the grille, blades, and motor vents. Every time the fan runs, some of that buildup can be redistributed into the room.
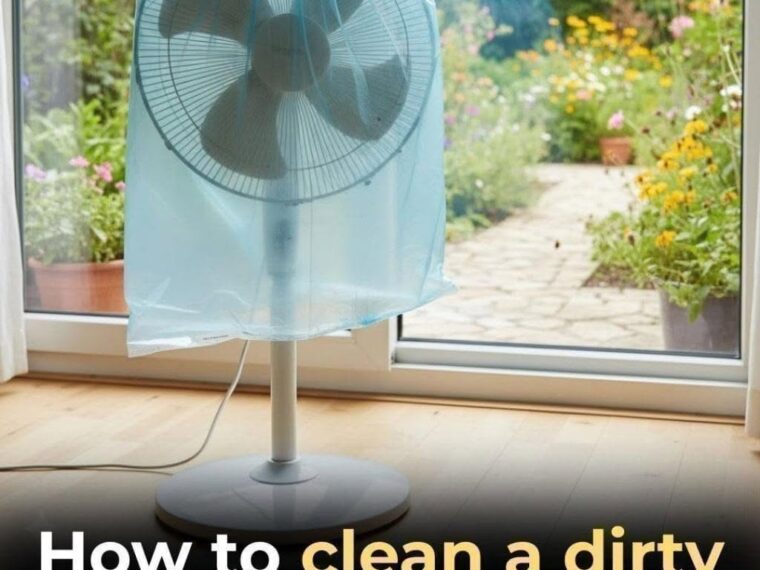
The image shows a popular cleaning trick involving a plastic bag placed over a fan. While the idea is designed to collect loosened dust, covering and running an electric fan inside a plastic bag is not a method I recommend. Blocking airflow around an operating appliance can create unnecessary safety and overheating risks.
Fortunately, you can clean most standing fans surprisingly well without taking them apart. The safer approach is to combine a vacuum cleaner, a soft brush, and a slightly damp microfiber cloth—while keeping the motor and electrical components completely dry. Manufacturer guidance likewise emphasizes unplugging the fan before cleaning and keeping water away from the motor.
Why You Should Clean Your Electric Fan Regularly
Fans constantly pull air through their grilles. Along with that air comes dust, hair, pollen, pet dander, and other particles.
Over time, this buildup can:
- Reduce airflow
- Make the fan noisier
- Cause the blades to become unbalanced
- Spread accumulated dust around the room
- Make the fan smell dusty when operating
- Increase the amount of dirt around the motor vents
A heavily contaminated fan can also become more difficult to clean if it is neglected for an entire season.
Regular maintenance doesn’t have to mean a deep disassembly every time. A quick external cleaning every few weeks during periods of heavy use can help keep the fan in better condition.
⚠️ First: Don’t Clean a Running Fan With a Plastic Bag
The photograph suggests placing a plastic bag around the fan and using the fan to loosen dust.
You may see this trick circulating online, but it is safer not to operate an electric fan while it is enclosed or partially covered by a plastic bag.
There are several reasons:
1. The fan needs unobstructed airflow
A fan is designed to move air through its grille. Covering the housing can interfere with that airflow.
2. Plastic can interfere with moving parts
If the material gets pulled toward the grille, it could come into contact with moving components.
3. Dust can still enter the motor area
Simply blowing dust around doesn’t necessarily remove it from the appliance.
4. You don’t need the fan running
You can loosen and collect the dust manually with a brush and vacuum, which gives you much more control.
The safest principle is simple: unplug first, then clean. Manufacturer instructions from several fan makers specifically recommend disconnecting the appliance from electricity before cleaning.
What You’ll Need
You don’t need expensive cleaning products.
Gather:
- A vacuum cleaner with a brush attachment
- A microfiber cloth
- A soft paintbrush or soft cleaning brush
- An old toothbrush for narrow areas
- A small bowl of warm water
- A few drops of mild dish soap
- A dry towel
- Cotton swabs, if necessary
Optional:
- Compressed air
- A flexible cleaning brush
- A thin dusting brush
Avoid harsh chemicals, solvents, gasoline, abrasive cleaners, and excessive amounts of water. Some manufacturers specifically warn against chemicals that can damage plastic or other fan components.
Step 1: Turn Off and Unplug the Fan
This is the most important step.
Don’t simply switch the fan off using its control button.
Unplug it from the wall outlet.
Wait until the blades have completely stopped moving before beginning.
Move the fan somewhere where falling dust won’t create another cleaning problem. If possible, work near an open window or place an old towel underneath the fan.
Keeping the appliance unplugged throughout the cleaning process eliminates the risk of accidentally starting the blades while your hands or tools are near the grille.
Step 2: Start With the Outside of the Grille
TO CONTINUE READING THE ARTICLE PLEASE SEE PAGE 2