🔨 Step-by-Step Guide
Step 1: Clean and Prep
- Wipe down the mesh organizer
- Remove dust or residue
- Let it dry completely
💡 A clean surface ensures a polished final look.
Step 2: Customize the Look (Optional)
Want to match your home style?
- Spray paint it matte black for a modern vibe
- Use gold or brass for a luxury feel
- Try white for a minimalist aesthetic
👉 Let it dry fully before moving to the next step.
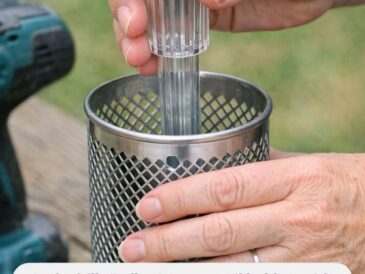
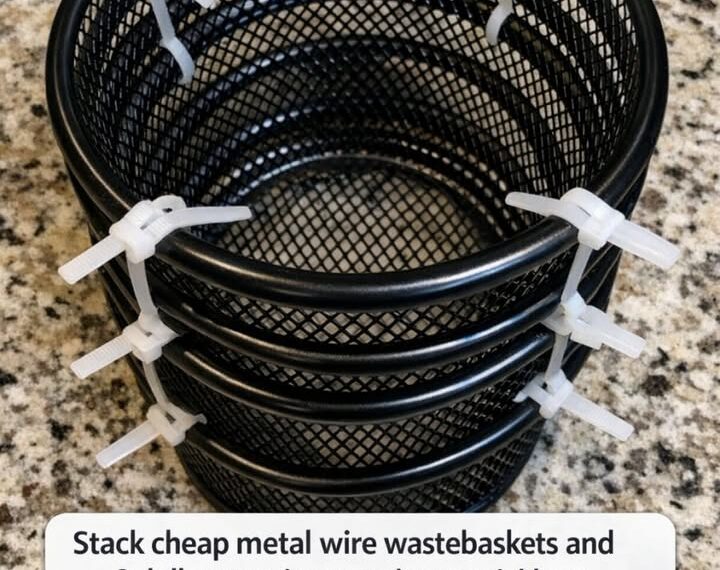
Step 3: Secure the Structure
If your organizer has multiple tiers:
- Use zip ties or clips to stabilize each level
- Make sure it stands firm and doesn’t wobble
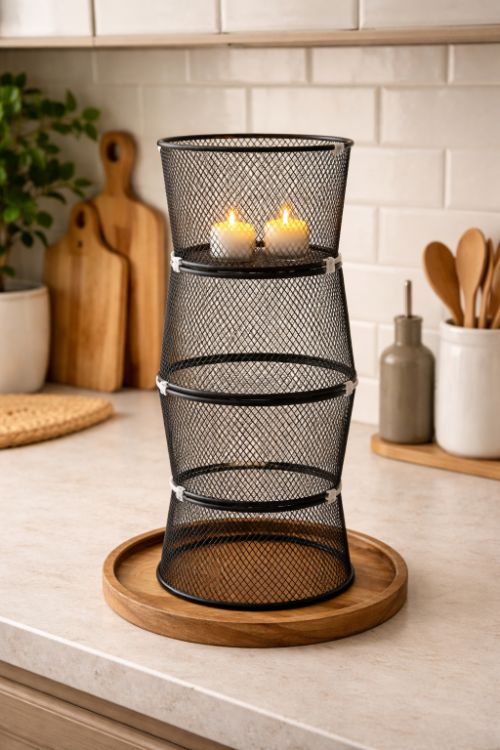
Step 4: Add the Base
- Place the organizer on a wooden tray
- This adds stability and elevates the look
💡 The tray makes it feel like a premium décor piece, not a storage item.
Step 5: Insert the Candles
- Place LED candles inside the top section
- You can also add candles on multiple levels
👉 Safety tip: Avoid real flames unless the structure is heat-safe and well-ventilated.
Step 6: Decorate for Extra Style
Now make it yours:
- Add small plants or faux greenery 🌿
- Place decorative stones at the bottom
- Wrap fairy lights around the mesh ✨
🔥 Final Result: A Designer Look on a Budget
What started as a simple organizer is now:
✨ A glowing centerpiece
✨ A cozy lighting feature
✨ A conversation starter
And it likely cost under $20 total.
💡 Styling Ideas for Different Spaces
🛋️ Living Room
- Place it on a coffee table
- Pair with books and a small plant
🍽️ Dining Table
- Use it as a centerpiece for dinners
- Add seasonal décor (pinecones, flowers)
🛁 Bathroom
- Create a spa vibe with candles and towels
🌙 Bedroom
- Use as soft ambient lighting for relaxation
🧠 Why This DIY Works So Well
- ✔ Easy for beginners
- ✔ Uses affordable, everyday items
- ✔ Highly customizable
- ✔ Looks expensive but isn’t
- ✔ Perfect for content (Pinterest, blogs, reels)
✨ Final Thought
Sometimes the best home décor isn’t bought—it’s reimagined.
This project proves that with a little creativity, even the most ordinary object can become something truly beautiful.
Pages: 1 2