If you’re looking for a creative way to reuse old clothing while making a beautiful front door decoration, this DIY denim and bandana wreath is the perfect weekend project. What started as a simple upcycling idea has become one of the most popular farmhouse-style decorations for porches, patios, and entryways.
Using worn-out blue jeans, bright red bandanas, and a few inexpensive craft supplies, you can create a rustic wreath that’s full of personality. It’s especially popular for summer decorating, Memorial Day, Independence Day, Labor Day, and everyday Americana-inspired home décor.
The best part? No sewing is required, and most people can finish this project in under an hour.
Why Everyone Loves This DIY
There are plenty of reasons this wreath has become so popular:
- Gives old jeans a second life instead of throwing them away.
- Costs much less than buying a decorative wreath.
- Easy enough for beginners.
- Can be customized for any season.
- Durable enough for covered outdoor use.
- Creates a unique handmade decoration that no one else has.
Because denim is naturally sturdy, the finished wreath keeps its shape well and can last for several years with proper care.
Materials You’ll Need
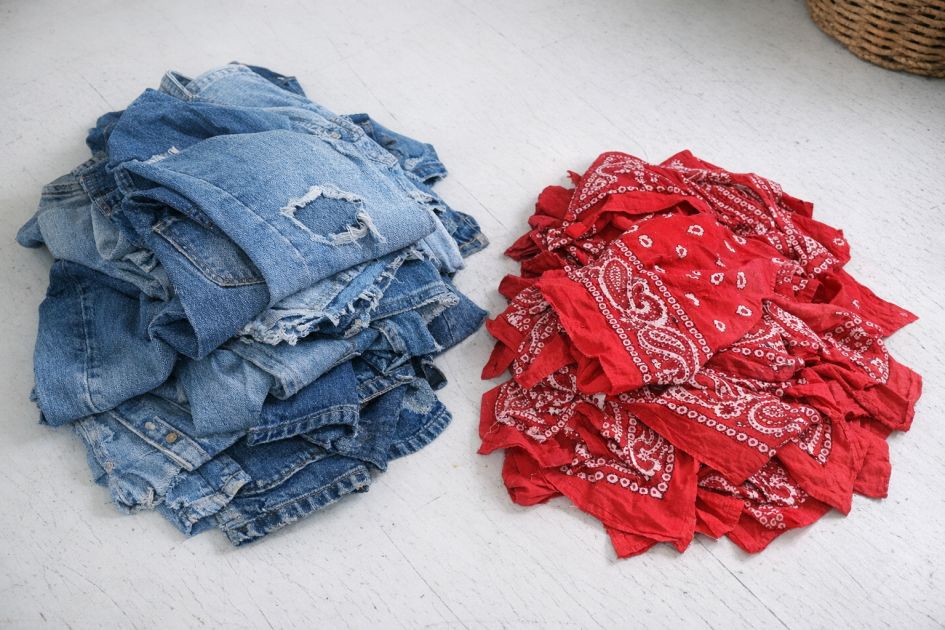
Gather these simple supplies before you begin:
- 1 wire wreath frame (12–16 inches works well)
- One pair of old blue jeans
- 1–2 red bandanas
- Strong fabric scissors
- Hot glue gun and glue sticks
- Burlap ribbon
- Decorative wooden star (optional)
- Twine or ribbon for hanging
- Small embellishments such as miniature flags, buttons, bells, or artificial flowers (optional)
Step 1: Prepare the Denim
Lay the jeans flat on a table.
Cut away:
- Legs
- Back pockets (save them for another project)
- Thick seams
Cut the remaining fabric into strips approximately:
- 1 inch wide
- 6–8 inches long
The strips do not need to be perfectly even. Slight variations actually make the wreath look fuller and more natural.
Step 2: Cut the Bandanas
TO CONTINUE READING THE ARTICLE PLEASE SEE PAGE 2