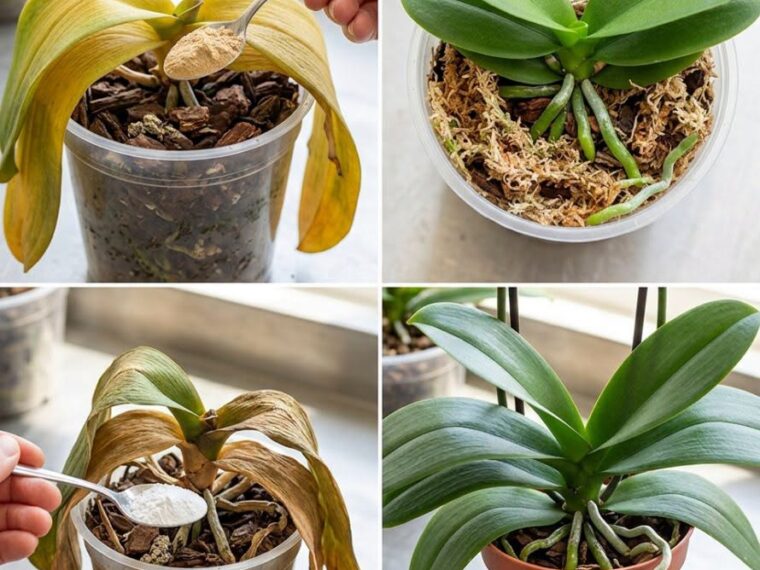
A transparent pot allows you to:
- Monitor root health
- Check moisture levels
- Let light reach the roots
Be sure the pot also has plenty of drainage holes.
Step 4: Water Properly
Overwatering is the number one reason orchids fail.
The best watering method is simple:
- Soak the pot in room-temperature water for 10–15 minutes.
- Allow all excess water to drain completely.
- Water again only when the roots turn silvery-gray.
Generally:
- Every 7–10 days during summer
- Every 10–15 days during winter
Always adjust watering based on your home’s temperature and humidity.
Step 5: Provide Bright, Indirect Light
Orchids love light—but not direct sunlight.
Place your orchid:
- Near an east-facing window
- Or behind a sheer curtain if it faces south or west
Signs of improper lighting include:
Too little light:
- Dark green leaves
- No flower spikes
Too much light:
- Yellow or bleached leaves
- Sunburn spots
Finding the right balance is key to encouraging blooms.
Step 6: Fertilize Carefully
Orchids benefit from light feeding during active growth.
Use a fertilizer specifically formulated for orchids once or twice a month.
Always follow the recommended dosage.
Over-fertilizing can damage delicate roots and slow recovery.
Step 7: Maintain Proper Humidity
Orchids prefer humidity levels between 50% and 70%.
You can increase humidity by:
- Placing the pot on a humidity tray filled with pebbles and water
- Grouping plants together
- Using a humidifier
Avoid constantly misting the leaves, especially the crown of the plant, as trapped moisture can lead to rot.
Step 8: Be Patient
Reviving an orchid takes time.
Depending on its condition, it may need:
- Several weeks to produce new roots
- A few months to grow fresh leaves
- Up to a year before blooming again
Patience is one of the most important parts of orchid care.
Common Mistakes to Avoid
Many orchid owners unintentionally harm their plants by making these common mistakes:
- Watering too frequently
- Letting water sit in the decorative pot
- Using regular potting soil
- Placing the orchid in direct afternoon sun
- Cutting off healthy aerial roots
- Applying too much fertilizer
Avoiding these mistakes gives your orchid the best chance to recover.
Signs Your Orchid Is Recovering
Your orchid is making progress if you notice:
- Bright green new root tips
- Firm, healthy leaves
- Steady new growth
- The emergence of a flower spike
These are all excellent signs that your plant is regaining its strength.
Are “Miracle Orchid Hacks” Really Effective?
The internet is full of videos recommending ingredients like yeast, baking soda, cinnamon, sugar, milk, or other household products to revive orchids.
In reality, there is no strong scientific evidence that these ingredients reliably restore unhealthy orchids, and some may even encourage mold or upset the growing medium if used improperly.
The real secret to healthy orchids is much simpler:
- Fresh orchid bark
- Proper watering
- Bright, indirect light
- Adequate humidity
- Good air circulation
- Moderate fertilization
Consistent care will always outperform any so-called miracle solution.
Final Thoughts
An old orchid isn’t necessarily a lost cause. More often than not, it simply needs the right growing conditions and a little patience to recover. By inspecting the roots, replacing old potting mix, watering correctly, providing bright indirect light, and fertilizing carefully, you can transform a struggling orchid into a healthy, thriving plant.
So before you throw away an orchid with yellow leaves or no flowers, give it another chance. With proper care and realistic expectations, it may reward you with beautiful blooms for many years to come. Sometimes, all an old orchid needs is a fresh start.