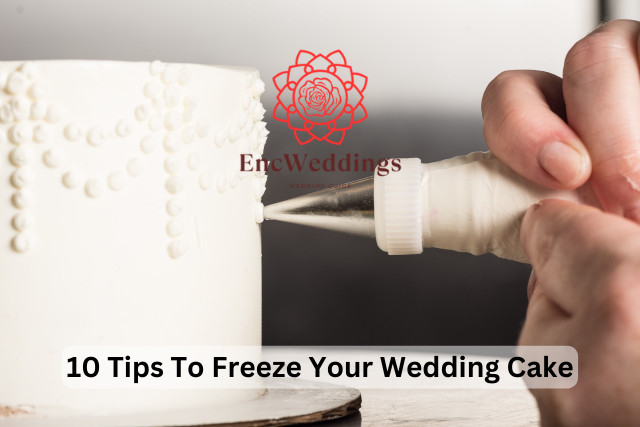
10 Tips To Freeze Your Wedding Cake
Your wedding day has come and gone, and after all the festivities, it’s time to say goodbye to all the flowers, decorations, and of course, your stunning wedding cake. Or is it? Did you know that you can actually freeze your wedding cake and enjoy it on your first anniversary or another special occasion? It’s a popular tradition that allows you to relive the sweetness of your wedding day and savor every flavor and design element all over again. In this blog post, we’re going to dive into how to properly freeze your wedding cake to ensure it’s just as delicious as the day you said “I do.” So, let’s get started!
1. Why Freeze Your Wedding Cake?
Freezing your wedding cake is a traditional way to preserve the top tier for your first anniversary. It allows couples to share a special moment together and reminisce about their wedding day. By eating the same cake they enjoyed on their big day, they can remember the flavors and memories that were made. While some couples opt to order a replica cake instead, many others see freezing the top tier as a sentimental and charming tradition to follow. [1][2]
2. Know Your Cake before Freezing
Before freezing your wedding cake, it’s important to know what kind of cake you have and set your expectations accordingly. Delicate cakes like angel food cake and fillings like custards or fresh fruit may not maintain their original texture indefinitely, while heartier cakes like chocolate, carrot, hazelnut, and almond will stand up better to freezing. Knowing these details can help ensure that your cake still tastes delicious when you defrost it on your first anniversary. [3][4]
3. Pre-freezing Technique
Before freezing the wedding cake, it is important to set the frosting. First, remove any decorations like flowers and the cake topper. Place the cake on a tray or baking sheet and let it freeze uncovered for at least three hours or overnight. This step allows the frosting and iced decorations to set, preventing smearing when the cake is wrapped in plastic. It is also essential to make sure the cake is not stored next to any strong-smelling items in the freezer to prevent any unwanted odors from affecting the cake’s taste. [5][6]
4. Wrapping Your Cake
To preserve the top tier of a wedding cake, it is important to wrap it properly before freezing. After pre-freezing the cake, it should be loosely wrapped in several layers of plastic wrap. Aluminum foil should be avoided as it can lead to freezer burn. For the best chance of preserving the cake’s taste and texture, the box should also be wrapped in several layers of plastic wrap or better yet, place the cake in an airtight container. Remember to mark the container with a ribbon or label so that it won’t be accidentally thrown out over the course of the year. [7][8]
5. Sealing the Cake for Freezing
To seal the cake for freezing, it’s recommended to loosely wrap it in several layers of plastic wrap, making sure that the icing is frozen before doing so to prevent sticking. Avoid using aluminum foil, as it could lead to freezer burn. For the best chance of preserving the cake’s taste and texture, it’s best to store it in an airtight container. Don’t forget to label it to avoid accidentally throwing it out over the course of the year! [9][10]
6. How to Store Your Cake in Freezer
To store your wedding cake in the freezer, start by pre-freezing it until the icing hardens. Next, loosely wrap it in several layers of plastic wrap and avoid using aluminum foil. Seal the wrapped cake in an airtight container or box and place it in the freezer. Ensure that you mark it with a label or ribbon to avoid throwing it out. [11][12]
7. Tips from the Test Kitchen
In the blog post, “How to Freeze Your Wedding Cake,” the author provides readers with some helpful tips from the test kitchen. These tips include chilling the cake before wrapping it, not using aluminum foil to avoid freezer burn, tightly wrapping the cake to prevent drying out, sealing the wrapped cake in an airtight container, and turning off any defrosting settings in the freezer. These tips ensure that the wedding cake will taste just as sweet on the first anniversary as it did on the wedding day. [13][14]
8. Setting the Frosting
The key to setting the frosting on your wedding cake before freezing is to first freeze the cake until the icing hardens. This will prevent the icing from sticking to the plastic wrap during the wrapping process. If the cake is decorated with sugar flowers or other adornments, it’s best to remove them before freezing. It’s important to use plastic wrap instead of aluminum foil to prevent freezer burn. [15][16]
9. Covering and Freezing the Cake
To ensure the top tier of your wedding cake stays fresh for your first anniversary, it’s important to cover and freeze it properly. After allowing the icing to harden in the freezer, the cake should be wrapped in several layers of plastic wrap and stored in an airtight container to prevent frost or freezer burn. It’s also recommended to mark the container with a label or ribbon to avoid accidentally throwing it out. [17][18]
10. Defrosting Your Cake on Your First Anniversary
On your first anniversary, it’s time to finally enjoy that delicious wedding cake you froze a year ago. To defrost it properly, take the cake out of the freezer about 24 to 48 hours before you plan to eat it. Remove all the plastic wrap and place the cake back in an airtight container in the refrigerator for a few hours or overnight. Once fully defrosted and soft, let the cake sit out at room temperature for about two hours before enjoying it with your partner. [19][20]


:max_bytes(150000):strip_icc()/leomanis_social-8b9fcbce3463416fa9791bf9156ced8a.jpg?w=850&resize=850,550&ssl=1)
:max_bytes(150000):strip_icc()/pinkandredfrench-e243bcefabeb4edeb298c9ec4ac5e0ff.png?w=850&resize=850,550&ssl=1)