There’s something incredibly satisfying about transforming ordinary household items into stunning pieces of décor. While many people throw away old cutting boards once they become worn, one creative DIY enthusiast discovered a way to give them a second life. By combining a few wooden boards with simple brackets and a central rod, he created a breathtaking tiered serving stand that looks like it belongs in a high-end kitchen boutique.
The result is both functional and beautiful. Perfect for charcuterie displays, desserts, fruits, cheeses, appetizers, or even seasonal decorations, this rustic centerpiece has become a favorite among DIY lovers. The best part? It costs a fraction of what a similar designer piece would cost in a store.
In this guide, you’ll learn exactly how to create your own multi-tier wooden serving stand using old cutting boards and a few basic materials.
Why This DIY Project Is So Popular
The popularity of rustic farmhouse décor continues to grow, and people are constantly searching for unique handmade pieces that combine style and practicality.
This tiered serving stand checks all the boxes:
- Reuses old cutting boards
- Creates a stunning centerpiece
- Saves money compared to store-bought versions
- Adds rustic charm to any gathering
- Can be customized to any size
- Makes a wonderful handmade gift
Whether you’re hosting a holiday dinner, wine night, birthday celebration, or brunch, this stand instantly elevates the presentation of your food.
The Finished Look
Imagine several wooden cutting boards stacked vertically, each level slightly smaller than the one beneath it. Fresh fruits, cheeses, crackers, cured meats, and decorative garnishes fill each tier, creating a display that looks straight out of a magazine.
The varying heights add visual interest while maximizing serving space, making it ideal for entertaining guests.
The natural wood grain gives the piece warmth and character, while the vertical design creates a dramatic focal point on any table.
Materials You’ll Need
Before getting started, gather the following supplies:
| Materials | Purpose |
|---|---|
| 2–5 old cutting boards | Create the serving tiers |
| Threaded metal rod | Central support structure |
| Washers | Stabilize each board |
| Nuts | Secure tiers in place |
| Decorative brackets or spacers | Separate the levels |
| Drill and drill bits | Create center holes |
| Sandpaper | Smooth rough surfaces |
| Wood stain (optional) | Refresh appearance |
| Food-safe wood finish | Protect the wood |
| Handle or decorative top piece | Finishing touch |
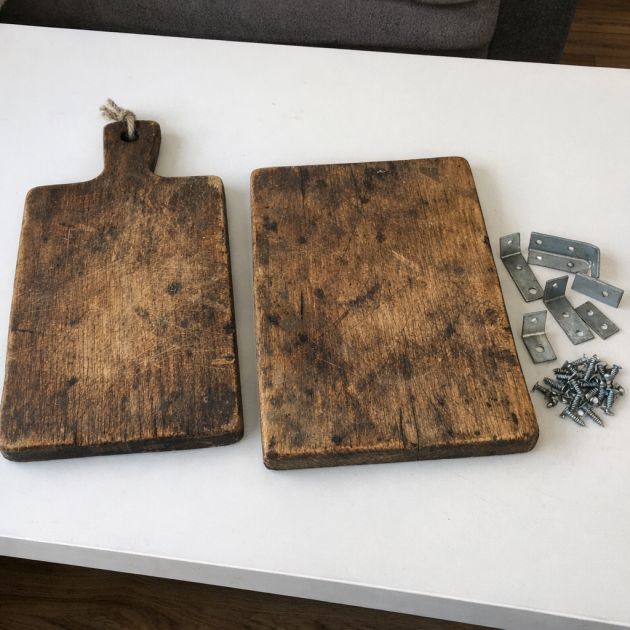
Choosing the Right Cutting Boards
Not all cutting boards are ideal for this project.
Look for boards that:
- Are made from solid wood
- Have minimal cracking
- Feature attractive grain patterns
- Vary slightly in size
Different sizes help create the layered effect seen in professional serving stands.
Round boards work especially well, but rectangular or paddle-style boards can create a unique rustic appearance.
If your boards are heavily scratched, don’t worry. Sanding can restore much of their original beauty.
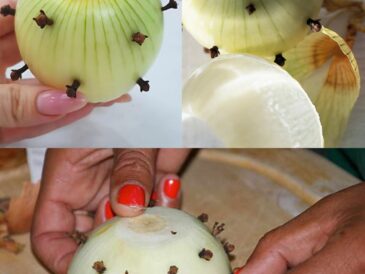
Step 1: Clean and Prepare the Boards
TO CONTINUE READING THE ARTICLE PLEASE SEE PAGE 2