🔨 Step-by-Step Transformation
Step 1: Clean It Thoroughly
Start by removing dirt, dust, and old residue.
- Use a damp cloth with mild soap
- Let it dry completely
💡 Tip: Don’t skip this—clean wood absorbs finishes much better.
Step 2: Sand the Surface
This is where the magic begins.
- Lightly sand rough areas
- Smooth splinters and edges
- Keep some imperfections for that rustic charm
👉 If you want a polished look, sand more. If you love vintage vibes, sand less.
Step 3: Stabilize the Ladder
If it’s wobbly, fix it easily:
- Apply wood glue to loose joints
- Tighten with screws if needed
- Let it dry for a few hours
💡 Safety first—this step ensures your piece is usable.
Step 4: Choose Your Finish
Now decide your style:
Option A: Keep It Rustic
- Leave the chipped paint
- Just seal it with clear varnish
Option B: Modern Makeover
- Paint it white, black, or pastel
- Great for clean, minimalist homes
Option C: Natural Wood Look
- Use a wood stain (oak, walnut, etc.)
- Enhances grain and texture
“best wood stain for beginners” or “quick-dry furniture paint.”
Step 5: Seal and Protect
Apply a clear coat:
- Protects wood from moisture
- Gives a smooth, finished look
- Makes it last for years
Let it dry fully before use.
Step 6: Style It Like a Pro
Now the fun part—decorating!
Here are easy styling ideas:
🌿 Plant Stand
- Place small pots on each step
- Add trailing plants like pothos
🛁 Bathroom Organizer
- Hang towels
- Add baskets for toiletries
🕯️ Cozy Corner Shelf
- Display candles, books, and décor
- Add fairy lights for ambiance
🍃 Balcony Garden
- Perfect for herbs like mint or basil
💡 Why This DIY Is So Good
- ✔ Costs under $15 total
- ✔ Beginner-friendly
- ✔ Takes just a few hours
- ✔ Eco-friendly (recycling old items)
- ✔ Unique—no one else will have the same piece
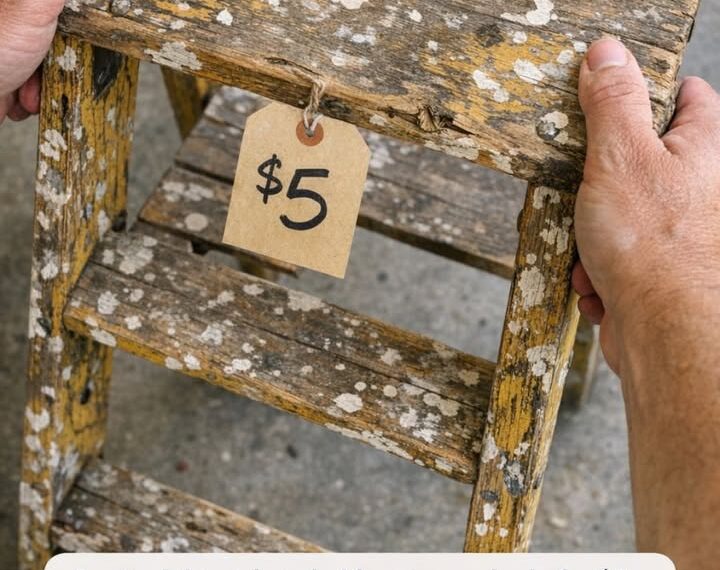
🔥 Final Result: From Trash to Treasure
That old $5 ladder becomes:
✨ A stylish statement piece
✨ A functional storage solution
✨ A conversation starter in your home
And the best part? You made it yourself.
Pages: 1 2