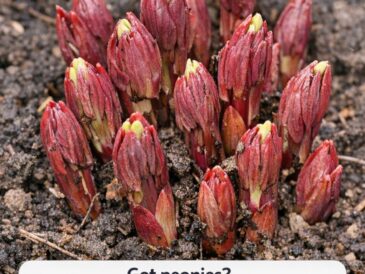
Gardening doesn’t have to be expensive or complicated to be effective. Sometimes, the smartest solutions come from the simplest household items. One surprisingly clever technique gaining popularity among gardeners is planting flower bulbs in toilet paper rolls. As shown in the image, this method not only recycles waste but also helps create strong roots, neat planting rows, and healthier spring blooms.
Why Use Toilet Paper Rolls for Planting Bulbs?
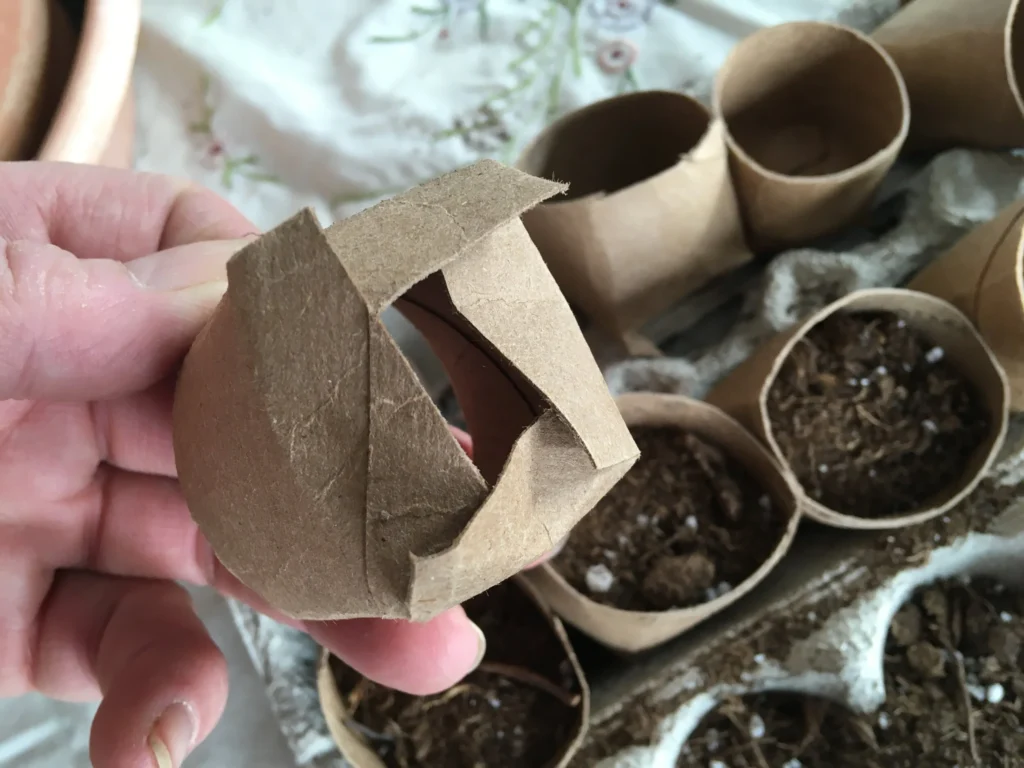
Toilet paper rolls are made from biodegradable cardboard, which makes them ideal for garden use. When planted in soil, they naturally break down over time, allowing roots to grow freely while offering early protection and structure.
Key benefits include:
- Improved root development
- Perfect spacing and straight rows
- Reduced transplant shock
- Eco-friendly and cost-free materials
- Easier bulb organization and planting
This method is especially useful for bulbs like tulips, daffodils, crocuses, and hyacinths.
Step 1: Preparing the Bulbs in Toilet Paper Rolls
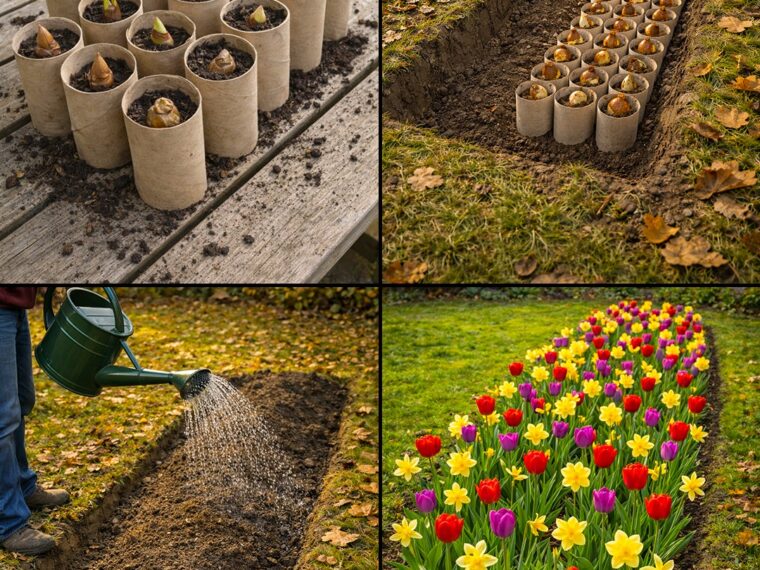
As shown in the first image panel, each bulb is placed inside an individual toilet paper roll filled with soil. The roll acts as a temporary container that:
- Keeps bulbs upright
- Maintains consistent soil around the bulb
- Protects young roots from disturbance
To prepare:
- Place the rolls upright on a tray or bench.
- Fill each roll with loose, well-draining soil.
- Insert one bulb per roll, pointy side up.
- Lightly cover the bulb with soil.
This setup allows bulbs to begin root formation before being planted outdoors.
Step 2: Creating Perfect Rows in the Garden
The second image shows how these prepared rolls are placed into a shallow trench in the garden. This is where the method truly shines.
Because each bulb is already measured and contained:
- Spacing is uniform
- Rows stay straight
- Planting depth is consistent
Simply dig a trench deep enough to accommodate the rolls, place them side by side, and ensure the top of each roll is just below soil level.
Step 3: Watering and Settling the Soil
The third image highlights gentle watering after planting. This step is crucial to:
TO CONTINUE READING THE ARTICLE PLEASE SEE PAGE 2