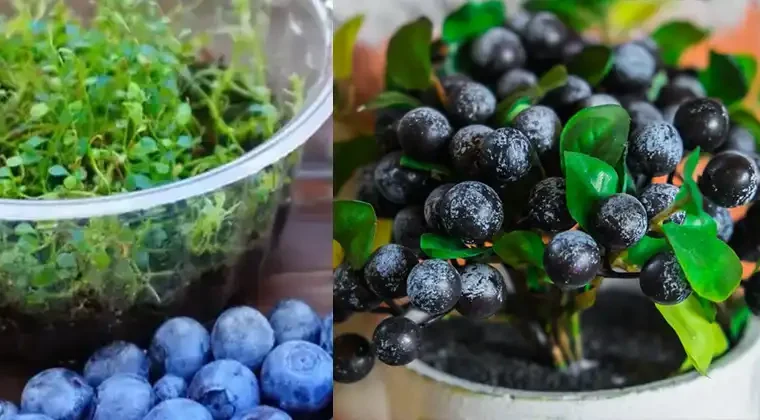
Blueberries are among the most delicious and nutritious fruits you can grow at home. Packed with antioxidants, vitamins, and minerals, they make an excellent addition to your garden or balcony. The good news is—you don’t need to buy expensive plants to get started. With just a handful of store-bought blueberries, a little patience, and the right conditions, you can grow your very own blueberry plants.
In this guide, we’ll walk you step by step through the process, from preparing the seeds to nurturing healthy plants that will one day bear fruit.
🌱 Step 1: Choose the Right Blueberries
When selecting blueberries from the store, pick organic or untreated varieties whenever possible. Non-organic berries are sometimes coated with preservatives or treated to prevent sprouting, which makes germination more difficult.
- Look for fresh, plump, and ripe blueberries.
- Avoid shriveled or moldy berries.
🌱 Step 2: Extracting the Seeds
Blueberry seeds are very small, hidden inside the fruit’s flesh. To collect them:
- Mash a handful of blueberries in a bowl.
- Add a little water and stir well. The seeds will sink to the bottom while the pulp floats.
- Pour off the pulp, repeating until mostly seeds remain.
- Spread the seeds on a paper towel and let them dry for a few hours.
🌱 Step 3: Stratification (Mimicking Winter)
Blueberry seeds need a cold stratification period to break dormancy, which simulates natural winter conditions.
- Place the dried seeds in a small container or plastic bag with moist sphagnum moss, peat, or paper towel.
- Seal the bag and refrigerate (not freeze) at around 35–40°F (1–4°C).
- Leave them in the fridge for 6–8 weeks.
This step is crucial for successful germination.
🌱 Step 4: Planting the Seeds
Once stratified, it’s time to plant:
TO CONTINUE READING THE ARTICLE PLEASE SEE PAGE 2