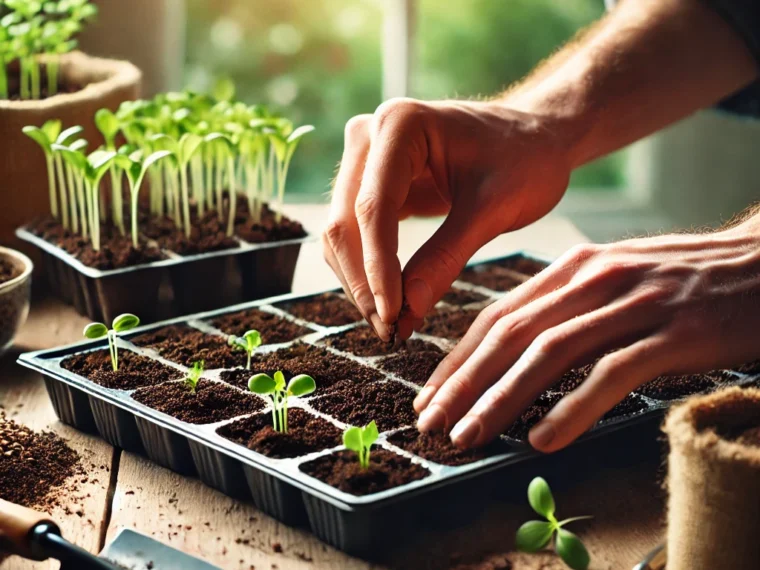
4. Plant the Seeds Properly
- Read the seed packet for depth and spacing instructions.
- Plant seeds at the recommended depth (usually 2-3 times their size).
- Cover lightly with soil and gently press down.
5. Water Gently
Use a spray bottle or watering can with a fine spout to moisten the soil without displacing seeds. Keep the soil evenly moist but not soggy.
6. Provide Warmth and Humidity
Most seeds germinate best at 65-75°F (18-24°C). If your home is cool, use a heat mat. Cover trays with plastic wrap or a humidity dome to retain moisture until seeds sprout.
7. Ensure Adequate Light
Place seedlings near a south-facing window or use grow lights for 12-16 hours daily. Keep lights 2-3 inches above seedlings and adjust as they grow.
8. Thin and Transplant Seedlings
Once seedlings develop their first true leaves, thin them out by snipping weaker ones at the base. When they outgrow their trays, transplant them into larger pots.
9. Harden Off Before Transplanting
Before moving seedlings outdoors, gradually expose them to outdoor conditions over 7-10 days. Start with 1-2 hours of outdoor time and increase daily to avoid transplant shock.
Common Mistakes to Avoid
🚫 Overwatering – Leads to mold and damping-off disease.
🚫 Insufficient light – Results in weak, leggy seedlings.
🚫 Planting too early – Can lead to root-bound plants before outdoor conditions are suitable.
🚫 Skipping hardening off – Shock can stunt plant growth.
Final Thoughts
Starting seeds indoors is a rewarding process that sets your garden up for success. By following these steps, you’ll have strong, healthy plants ready to thrive outdoors. Whether you’re growing vegetables, herbs, or flowers, a little early effort leads to a bountiful and beautiful garden!