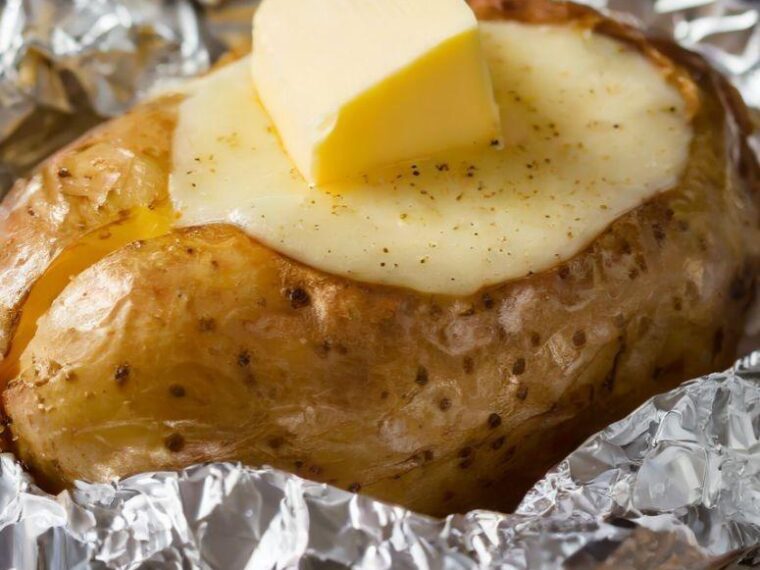
A baked potato is a versatile and satisfying dish, perfect as a side or a meal on its own. Achieving the perfect baked potato involves selecting the right potato, preparing it with care, and baking it to golden perfection. Here’s a detailed recipe to ensure your baked potatoes turn out crispy on the outside and fluffy on the inside every time.
Ingredients
- 4 large russet potatoes (ideal for baking due to their starchy texture)
- 2 tablespoons olive oil or melted butter
- 1 tablespoon coarse sea salt
- Optional toppings: sour cream, shredded cheese, chopped chives, crispy bacon, or butter.
Step 1: Choose the Right Potatoes
Russet potatoes are the best choice for baking because of their high starch content, which gives them a fluffy interior. Look for medium to large potatoes with smooth, blemish-free skin.
Step 2: Prepare the Potatoes
- Wash and Scrub:
Rinse the potatoes under cold running water and scrub them gently with a brush to remove any dirt. - Dry Thoroughly:
Use a clean kitchen towel to pat the potatoes completely dry. This ensures a crispy skin during baking. - Pierce the Skin:
Using a fork, poke holes evenly around each potato. This prevents steam from building up and causing the potatoes to burst in the oven.
Step 3: Season the Potatoes
- Coat with Olive Oil:
Rub each potato with a thin layer of olive oil or melted butter. This helps the skin crisp up and adds a touch of flavor. - Sprinkle with Salt:
Generously sprinkle coarse sea salt all over the potatoes. This not only seasons them but also enhances the crispiness of the skin.
Step 4: Bake to Perfection
- Preheat the Oven:
Set your oven to 400°F (200°C) and allow it to preheat fully. - Place the Potatoes on a Rack:
Arrange the potatoes directly on the oven rack or place them on a baking sheet lined with foil or parchment paper for easier cleanup. - Bake:
Bake the potatoes for 45 to 60 minutes, depending on their size. They’re ready when the skin is crisp, and a knife or skewer easily pierces the center.
Step 5: Add the Finishing Touches
TO CONTINUE READING THE ARTICLE PLEASE SEE PAGE 2
