Step 4: Optional Boosters
Add natural food coloring, lemon juice, or a pinch of vitamin C powder at this stage for extra nutrition and visual appeal.
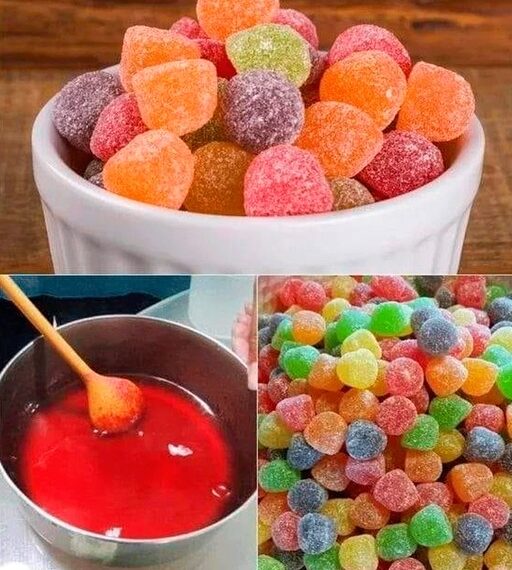
Step 5: Pour into Molds
Carefully pour the warm gummy mixture into your prepared molds using a spoon or a dropper for accuracy.
Tap the mold tray lightly on the counter to remove air bubbles.
Step 6: Refrigerate and Set
Place the molds in the refrigerator for 2–3 hours or until completely firm.
Step 7: Unmold and Enjoy
Gently pop out the gummies from the molds. Store them in an airtight container in the fridge for up to 7–10 days.
🍓 Tips & Variations
- Vegan Version: Use agar-agar powder instead of gelatin. It’s plant-based and still gives a chewy texture.
- Add Vitamins: Sneak in powdered vitamins or probiotics to make health-boosting gummies.
- Fruit Puree Gummies: Replace part of the juice with a fruit puree for thicker, more flavorful bites.
🎉 Fun Facts About Gummies
- Gelatin is derived from collagen and provides amino acids that support joints and skin health.
- Homemade gummies avoid high fructose corn syrup and artificial dyes, making them a healthier alternative.
- Kids love them, and you can sneak in nutrients without complaints!
🧺 Conclusion
Making homemade gummies is a simple and enjoyable activity for both beginners and experienced home cooks. With a handful of ingredients and some creativity, you can produce delicious, colorful, and healthier alternatives to store-bought candy. Whether you’re experimenting with fruit flavors or adding nutritious extras, these chewy treats will quickly become a family favorite.