Step 1: Prepare the Lemon
- Wash and zest the lemon using a fine grater. You’ll need about 1 tablespoon of zest.
- Juice the lemon and strain out the seeds and pulp.
Step 2: Melt the Soap Base
- Cut the glycerin soap base into small cubes for easy melting.
- Melt the cubes in a microwave-safe bowl in 30-second intervals or use a double boiler on the stove. Stir occasionally until completely melted.
Step 3: Add the Lemon Elements
- Once the soap base is melted, stir in:
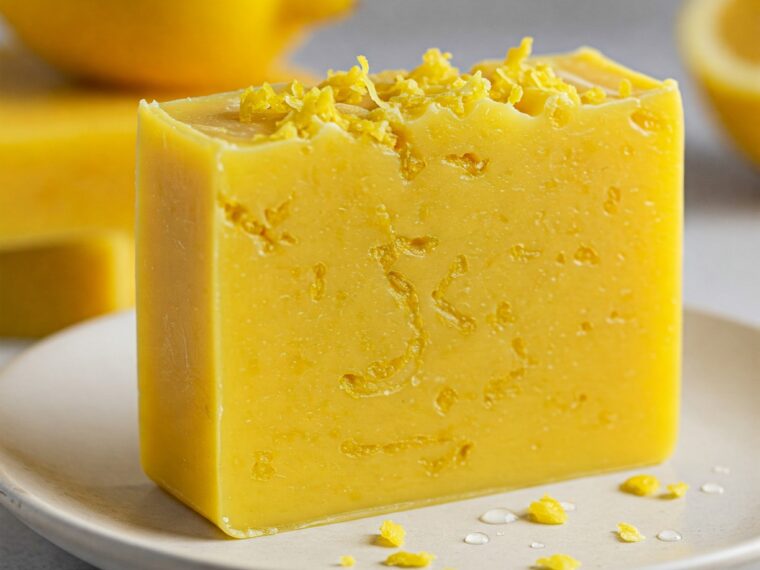
- Lemon zest (adds exfoliating texture)
- 1-2 tsp of lemon juice (adds natural cleansing)
- A few drops of lemon essential oil for fragrance
- Olive or coconut oil for moisturizing (optional)
⚠️ Note: Don’t add too much lemon juice, as too much acidity can affect the soap’s texture and longevity.
Step 4: Pour into Molds
- Pour the soap mixture into your mold or container.
- Tap the mold gently to remove air bubbles.
- Let it cool at room temperature for 2-3 hours or refrigerate for faster setting.
Step 5: Unmold and Store
- Once hardened, remove the soap bars from the mold.
- Wrap in parchment paper or store in an airtight container until ready to use.
🛁 How to Use Your Lemon Soap
Use this lemon bar soap as you would with any other:
- In the shower
- As a hand soap in the kitchen or bathroom
- To gently exfoliate your hands, face, or body
It’s especially effective for oily or acne-prone skin and perfect for the warmer months due to its refreshing scent.
✅ Tips for Best Results
- Use organic lemons to avoid pesticides.
- Add dried herbs like lavender or rosemary for extra skin benefits.
- If you have sensitive skin, do a patch test before using lemon soap regularly.
- Wrap the bars and give them as eco-friendly homemade gifts!
🧼 Conclusion
Creating homemade bar soap with lemon is not only simple but also satisfying. With just a few ingredients, you can produce a soap that is natural, aromatic, and beneficial for your skin. It’s a great way to reduce chemicals in your daily skincare routine while enjoying the therapeutic scent of citrus.
Pages: 1 2