Step 1: Prepare the Pipe or Bucket
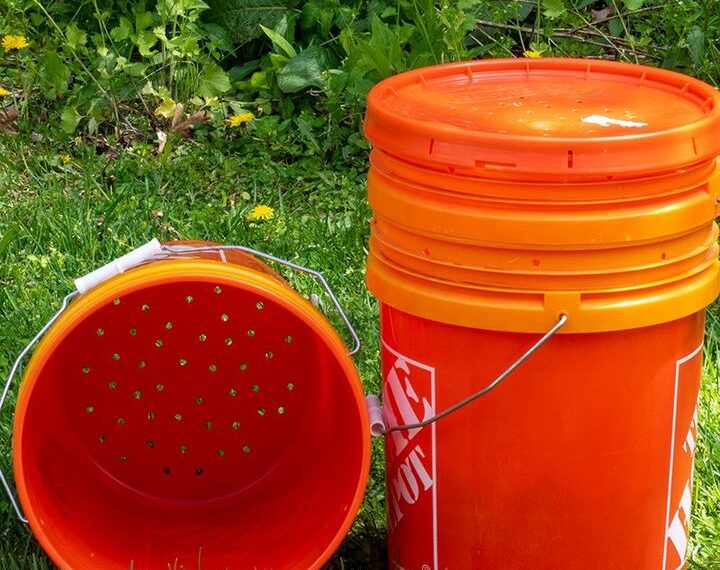
- Drill holes: Create small holes (1/4 inch wide) around the bottom half of the pipe or bucket. These allow worms to enter and exit freely. Make enough holes for adequate ventilation and access.
- Cut the pipe to size: If the pipe is too long, trim it to around 2 feet—enough to be buried 18 inches deep with 6 inches above ground.
Step 2: Choose a Location
- Pick a spot in your garden with loose, fertile soil. Avoid areas with heavy foot traffic.
- The location should be accessible for adding food scraps regularly.
Step 3: Dig the Hole
- Use a shovel or spade to dig a hole approximately 18 inches deep. Ensure the pipe fits snugly.
Step 4: Insert the Worm Tower
- Place the pipe or bucket into the hole, ensuring the drilled holes are below ground level.
- Fill the surrounding space with soil to secure it in place.
Step 5: Add Bedding
- Line the bottom of the tower with damp shredded paper, cardboard, or coconut coir. This creates a welcoming environment for the worms.
Step 6: Introduce the Worms
- Add a handful of red wigglers to the tower. These worms are efficient at breaking down organic material into compost.
Step 7: Add Food Scraps
- Place small amounts of food waste into the tower. Chop large pieces into smaller chunks for easier decomposition.
Step 8: Cover the Tower
- Secure the top of the tower with a lid, mesh, or pot to prevent pests and excess rain from entering.
Maintenance Tips
- Feed regularly: Add food scraps once a week. Avoid overloading to prevent odors.
- Balance moisture: Worms thrive in a damp environment but avoid waterlogging the tower.
- Turn the compost: Occasionally stir the contents gently to aid decomposition.
- Monitor worm health: If worms are sluggish or escaping, check for extreme temperatures, dryness, or improper food.
- Harvest castings: Every 3-6 months, remove some of the worm castings from the tower and use them to enrich your garden soil.
What to Feed Your Worms
Do feed:
- Fruit and vegetable scraps
- Coffee grounds and filters
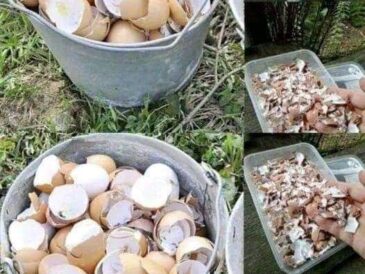
- Crushed eggshells
- Tea bags (non-plastic)
Avoid feeding:
- Meat, dairy, and oily foods (they attract pests)
- Citrus peels (too acidic)
- Spicy foods like onions and garlic
Cost Breakdown
- PVC pipe or bucket: $5–$10 (or free if recycled)
- Drill or screwdriver: Free (most households have one)
- Bedding material: Free (use shredded paper or cardboard)
- Worms: $5–$10 (or free from a composting friend)
Total Cost: $15 or less, potentially free with recycled materials!
Benefits of a Worm Tower
- Low maintenance: Once installed, a worm tower requires minimal upkeep.
- Customizable: You can make it large or small, depending on your garden size.
- Scalable: Add multiple towers if you have a larger garden.
- Sustainable: Helps close the loop between food waste and plant nutrition.
Conclusion
Building a DIY worm tower is an affordable and sustainable way to enhance your gardening efforts. By investing a little time and effort, you’ll reap the rewards of richer soil, healthier plants, and reduced waste. Whether you’re an experienced gardener or a beginner, a worm tower is a project worth trying. Start today, and watch your garden flourish!


