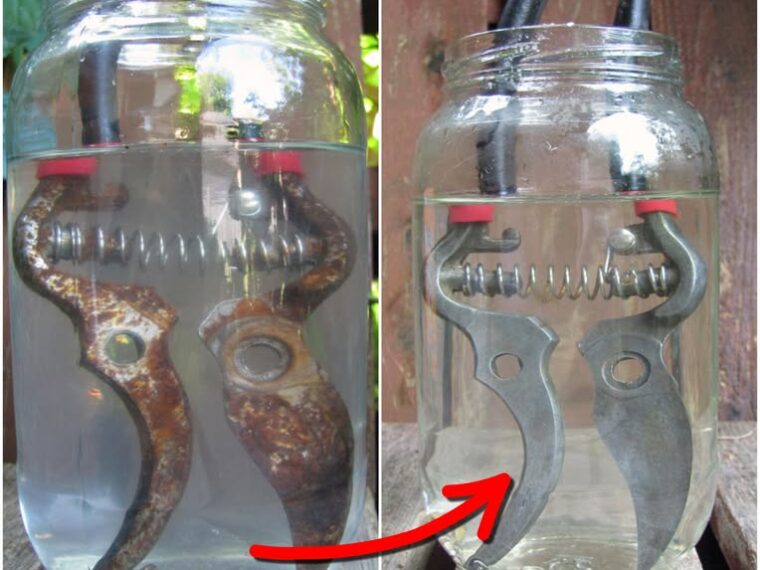
If your shears have rust:
- Use steel wool, a wire brush, or sandpaper to gently scrub it off.
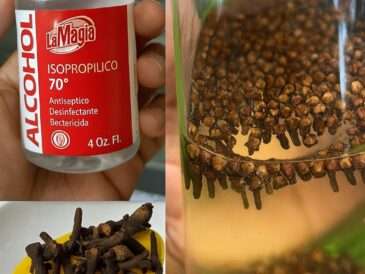
- Vinegar can also help dissolve rust when soaked.
Tip: Don’t wait until rust builds up! Wipe your tools dry after every use.
Step 4: Sharpen the Blades
There are a few methods to sharpen pruning shears. The goal is to restore the beveled cutting edge (usually only one side of the blade is angled).
Method 1: Sharpening Stone (Recommended)
- Hold the stone at the same angle as the blade’s bevel (usually 10–20 degrees).
- Stroke the stone along the blade in one direction 10–15 times.
- Flip the blade and remove burrs by lightly rubbing the flat side.
Method 2: Carbide Sharpener
- Align the tool with the beveled edge.
- Run it down the edge a few times until sharp.
Method 3: Metal File
- Clamp the blade or hold it securely.
- File along the beveled edge with long, smooth strokes.
Test sharpness by lightly slicing a piece of paper or stem. If it cuts cleanly, you’re good to go!
Step 5: Lubricate the Shears
Apply a thin layer of oil to:
- The blades (prevents rust)
- Pivot points (ensures smooth movement)
Wipe off any excess with a soft cloth.
Step 6: Reassemble and Store Properly
If you disassembled the shears, put them back together. Make sure all screws or bolts are tightened. Store them in a dry place or hang them in your shed.
Maintenance Tips
- Wipe clean after each use
- Sharpen monthly during peak gardening season
- Oil blades occasionally to prevent corrosion
- Store shears in a dry place or use a blade cover
🌿 Final Thoughts
Your pruning shears are one of your most-used garden tools. With just 10–15 minutes of care, you can keep them clean, razor-sharp, and ready for any gardening task. Regular maintenance doesn’t just make your life easier—it helps your garden thrive, too.