👩🍳 Step-by-Step Method
- Prepare the Chocolate Base
- Melt your chocolate gently using a double boiler or microwave in short intervals.
- Spoon a thin layer into muffin liners or silicone molds. Tilt to coat the sides slightly.
- Freeze for 5–10 minutes until firm.
- Make the Peanut Butter Filling
- Mix peanut butter with a touch of melted butter/coconut oil and a sweetener of choice.
- Stir until smooth and creamy.
- Assemble the Cups
- Add a spoonful of peanut butter mixture onto the hardened chocolate layer.
- Smooth the top gently with a spoon.
- Seal with Chocolate
- Pour another layer of melted chocolate over the peanut butter filling.
- Tap the mold lightly to remove air bubbles.
- Chill and Enjoy
- Refrigerate or freeze for 20–30 minutes until fully set.
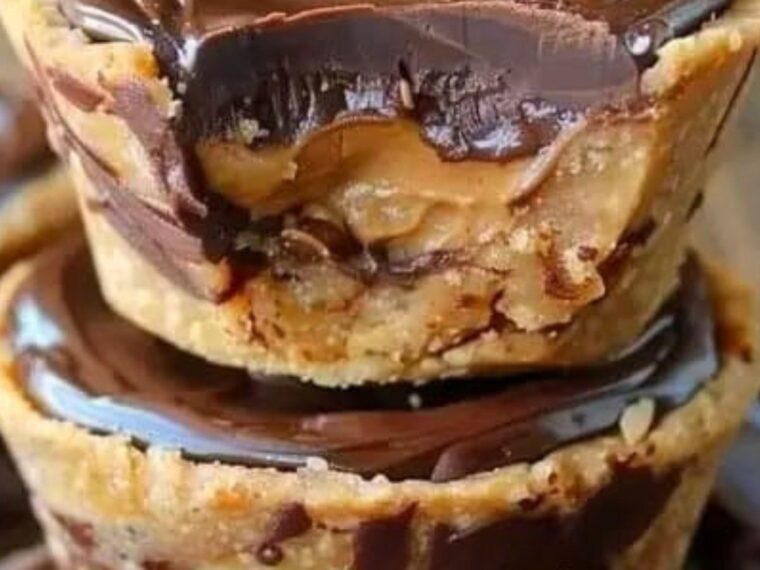
- Peel off the liners and enjoy your homemade gourmet chocolate peanut butter cups.
🌟 Variations to Try
- Sea Salt Sprinkle: A pinch of flaky sea salt on top for a sweet-salty kick.
- Crunchy Texture: Add chopped peanuts, pretzels, or rice crisps inside the filling.
- Healthy Twist: Use dark chocolate (70%+) and unsweetened peanut butter.
- Nut-Free Version: Replace peanut butter with almond butter, cashew butter, or sunflower seed butter.
- Dessert Upgrade: Use them as toppings for ice cream, brownies, or cheesecakes.
🍴 Storage Tips
- Keep in an airtight container in the refrigerator for up to 2 weeks.
- Freeze for up to 3 months and thaw before enjoying.
💡 Final Thoughts
Gourmet chocolate peanut butter cups are more than just a treat—they’re a homemade luxury. They strike the perfect balance between rich chocolate indulgence and nutty, creamy filling, making them irresistible for both kids and adults. Whether you enjoy them as a quick snack, a holiday gift, or a sweet ending to a meal, these little cups of joy will always impress.
Pages: 1 2