Step 2: Make the Filling
- Beat the Cream Cheese: In a large mixing bowl, beat the softened cream cheese with an electric mixer on medium speed until smooth and creamy.
- Add Sugar and Vanilla: Gradually add the powdered sugar and vanilla extract, mixing until fully incorporated.
- Whip the Cream: In a separate bowl, whip the cold heavy cream with an electric mixer until stiff peaks form. This should take about 2–3 minutes.
- Fold Together: Gently fold the whipped cream into the cream cheese mixture until well combined, being careful not to deflate the cream.
Step 3: Assemble the Dessert
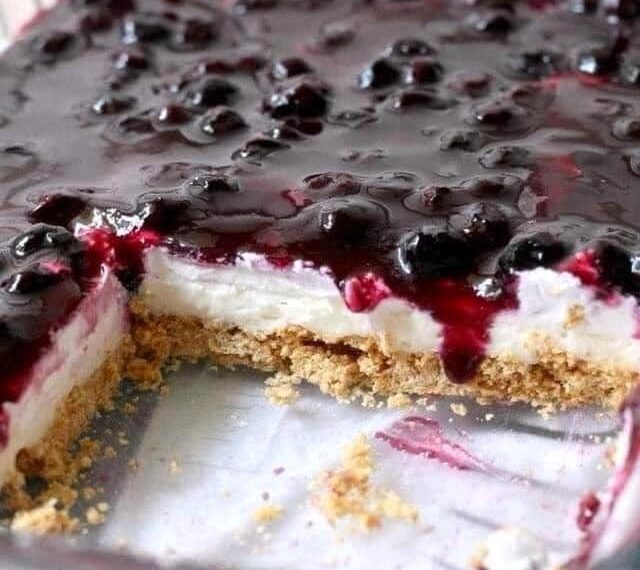
- Spread the Filling: Remove the crust from the refrigerator and evenly spread the cream cheese filling over it. Use a spatula to smooth the surface.
- Add the Cherry Topping: Carefully spoon the cherry pie filling over the cream cheese layer, spreading it out evenly.
Step 4: Chill and Serve
- Refrigerate: Cover the dish with plastic wrap or aluminum foil and refrigerate for at least 4 hours, or preferably overnight, to allow the dessert to set.
- Slice and Enjoy: Once chilled, slice into squares or rectangles and serve. Enjoy the delightful combination of creamy, crunchy, and fruity layers!
Tips for Success
- Crust Alternatives: For a twist, try using crushed vanilla wafers or shortbread cookies instead of graham crackers.
- Fresh Topping: If you prefer, you can use homemade cherry sauce or fresh fruit instead of canned cherry pie filling.
- Make Ahead: This dessert can be made a day in advance, making it a perfect choice for parties or busy schedules.
Why You’ll Love Classic Cherry Delight
- No-Bake Wonder: No need to turn on the oven, making it ideal for summer or when you want an easy dessert.
- Customizable: Swap the cherry topping for blueberry, strawberry, or peach pie filling for variety.
- Crowd-Pleaser: Its layered textures and flavors make it a favorite among all age groups.
Treat yourself and your loved ones to this Classic Cherry Delight and savor the sweetness of this timeless dessert!
Pages: 1 2


