Step 1: Preparing the Batter
The dry ingredients are mixed first, followed by the wet ingredients. Everything is gently combined until smooth, ensuring a light, airy batter without overmixing.
Step 2: Baking
The batter is poured into a prepared cake pan and baked until the center is set and a toothpick comes out clean. The cake is then allowed to cool slightly so it can absorb the glaze without becoming soggy.
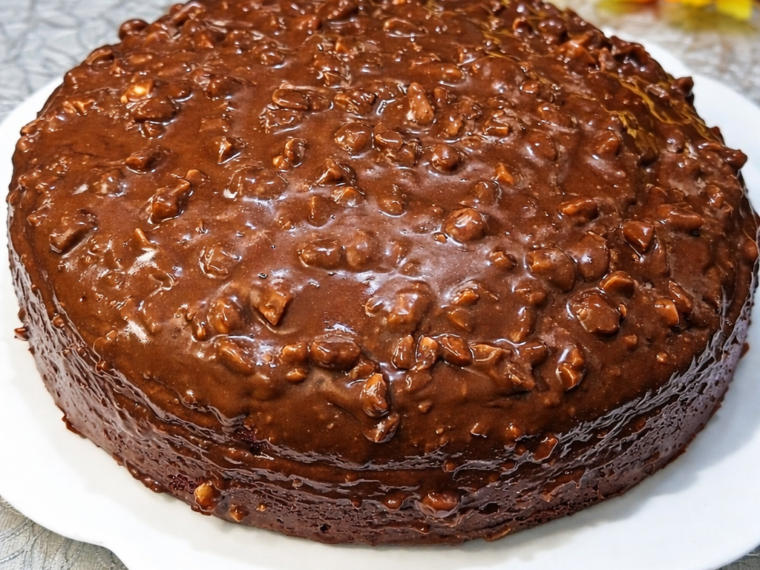
Step 3: Making the Crunchy Glaze
Chocolate is melted with butter or cream, then mixed with sugar and chopped nuts. This warm glaze is poured over the cake, spreading naturally and settling into a glossy, textured layer.
Texture and Flavor Experience
- First bite: The glaze cracks slightly under your fork, releasing the aroma of toasted nuts and chocolate.
- Middle: A soft, moist chocolate crumb that’s rich but balanced.
- Finish: Nutty crunch and a lingering cocoa flavor that invites another bite.
This contrast of textures is what makes the cake unforgettable.
Serving Suggestions
- Serve slightly warm for a gooey glaze effect
- Pair with a scoop of vanilla ice cream or whipped cream
- Enjoy with coffee, espresso, or black tea
- Sprinkle extra chopped nuts on top for added crunch and decoration
Storage Tips
- Store at room temperature for up to 2 days, covered
- Refrigerate for up to 5 days for a firmer glaze
- Bring to room temperature before serving for best flavor
Why This Cake Is Always a Hit
This chocolate cake with crunchy nut glaze combines simplicity and elegance. It doesn’t rely on complicated techniques, yet it looks impressive and tastes indulgent. Whether served at a celebration or enjoyed quietly at home, it delivers comfort, richness, and just the right amount of crunch.
A true classic that never goes out of style 🍰✨