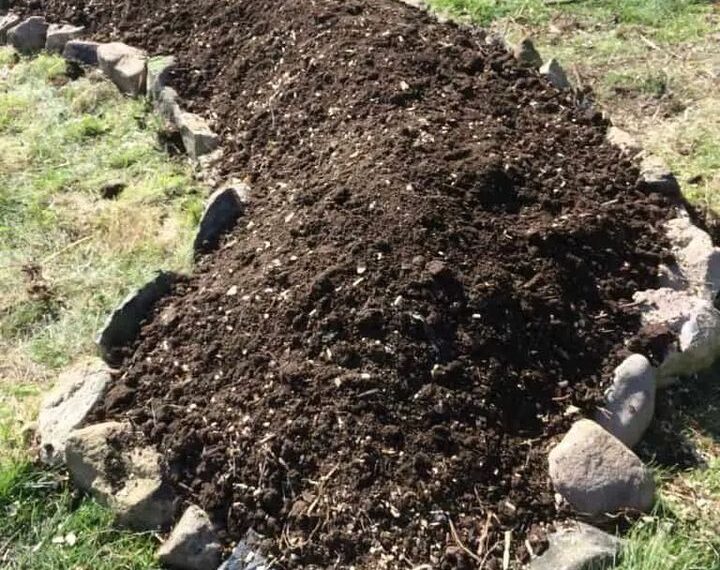
Hügelkultur, a German word meaning “hill culture,” is an innovative and sustainable gardening method that involves building raised beds using decaying wood and other organic materials. This technique improves soil fertility, conserves moisture, and extends the growing season. In this tutorial, you’ll learn how to build your own Hügelkultur raised bed step by step, transforming garden waste into a thriving, productive growing space.
Why Choose Hügelkultur?
- Water Retention: The wood and organic matter within the bed act like a sponge, absorbing and retaining water.
- Nutrient-Rich Soil: As the wood decomposes, it enriches the soil with nutrients.
- Waste Reduction: It’s a great way to recycle logs, branches, and garden debris.
- Extended Growing Season: The decomposition process generates heat, keeping plants warmer for longer.
Materials Needed
- Logs and large branches
- Smaller branches and twigs
- Grass clippings, leaves, and other garden waste
- Compost or manure
- Topsoil
- Cardboard or newspaper (optional, for weed suppression)
- Garden tools (shovel, rake, wheelbarrow)
Step-by-Step Instructions
1. Choose the Location
Select a sunny spot in your garden with good drainage. Hügelkultur beds can be built directly on the ground or within a raised bed frame.
2. Prepare the Base
- Optional: Lay down cardboard or newspaper to suppress weeds.
- Dig a trench about 1-2 feet deep. This helps anchor the logs and improves water retention.
3. Add the Logs and Large Branches
Place the largest logs and branches at the bottom of the trench. These will form the core of your Hügelkultur bed and will decompose slowly over time, providing a steady release of nutrients.
4. Layer with Smaller Branches and Twigs
Add a layer of smaller branches, twigs, and sticks on top of the logs. This helps fill gaps and creates a stable base for the next layers.
5. Add Organic Matter
Spread a layer of grass clippings, leaves, garden waste, or straw. This layer provides additional nutrients and fills in spaces between the wood.
6. Apply Compost or Manure
Add a thick layer of compost or well-rotted manure. This boosts the nutrient content and kick-starts the decomposition process.
7. Cover with Topsoil
Finish by adding a layer of topsoil, about 6-8 inches thick. This will be the planting surface for your crops. Rake it smooth to create an even bed.
8. Water Thoroughly
Water the entire bed thoroughly to help settle the layers and kickstart decomposition.
9. Plant Your Crops
You can plant vegetables, herbs, or flowers immediately. However, some gardeners prefer to let the bed settle for a few weeks before planting.
Maintenance Tips
TO CONTINUE READING THE ARTICLE PLREASE SEE PAGE 2


