If you’ve ever looked at your old potting soil and wondered whether to toss it or reuse it—you’re not alone. Most gardeners throw it away without realizing they’re literally discarding something that can be easily revived and reused. The truth is, with the right method, you can turn tired, nutrient-depleted soil back into a rich, fertile growing medium that performs just like new.
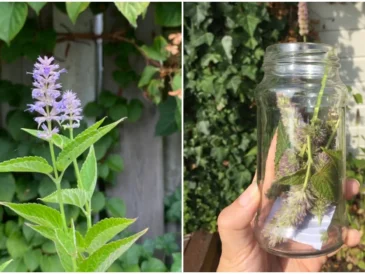
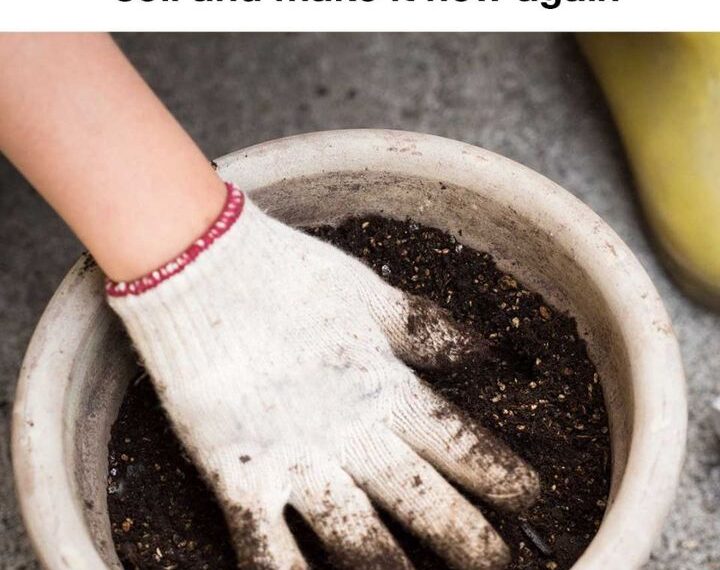
The image above perfectly captures the process—hands working directly into used soil, bringing it back to life. And that’s exactly what this guide is about: saving money, reducing waste, and improving your garden naturally.
Why Reusing Potting Soil Is a Smart Move
Let’s be real—buying fresh potting soil every season adds up quickly. If you’re gardening in containers, raised beds, or patio setups, you might go through dozens of bags each year. Reusing soil isn’t just about saving money—it’s about sustainability.
Over time, potting soil loses nutrients, structure, and beneficial microbes. But here’s the key point: it doesn’t become useless—it just needs a reset. Think of it like recharging a battery. The base material is still there; it just needs a boost.
Reusing soil also helps reduce environmental waste. Many commercial soils contain peat, which takes years to regenerate naturally. By reconditioning your soil, you’re contributing to a more eco-friendly gardening practice.
Signs Your Potting Soil Needs Refreshing
Before jumping into the process, it’s important to know when your soil needs help. Not all old soil is in the same condition.
Look for these signs:
- Plants previously grown in it were weak or slow-growing
- Soil feels compacted or hard
- Water either drains too quickly or not at all
- Presence of pests or fungus
- Lack of organic smell (healthy soil smells earthy)
If you notice any of these, don’t throw the soil away—it’s the perfect candidate for rejuvenation.
Step-by-Step: How to Reuse Old Potting Soil
1. Remove Old Roots and Debris
Start by cleaning the soil. Pull out any dead roots, plant stems, or leftover debris. These can harbor diseases or pests that may affect your next crop.
Break up any clumps with your hands—just like in the image. This helps restore the soil’s texture and prepares it for the next steps.
2. Sterilize the Soil (Optional but Recommended)
If your previous plants had diseases or pests, sterilizing the soil is a smart move.
You can do this by:
- Spreading soil on a tray and heating it in the sun for several hours
- Baking it in the oven at low temperature (around 80–90°C / 175–195°F)
This step kills harmful organisms but also removes some beneficial ones—which is why you’ll need to rebuild the soil afterward.
3. Reintroduce Nutrients
This is the most important step. Old soil is usually depleted of nutrients, so you need to feed it.
Add:
- Compost (rich in organic matter)
- Organic fertilizer
- Worm castings
A good rule of thumb is mixing:
- 70% old soil
- 30% fresh compost or organic material
This brings back essential nutrients like nitrogen, phosphorus, and potassium.
4. Improve Soil Structure
Over time, soil becomes compacted, which restricts root growth and airflow. To fix this, mix in:
- Perlite or vermiculite
- Sand (for better drainage)
- Coconut coir or peat moss
This restores the light, fluffy texture that plants love.
5. Rebalance pH Levels
Used soil can become too acidic or alkaline depending on what was previously grown. Adding compost usually helps balance it naturally, but you can also use:
- Lime to raise pH (reduce acidity)
- Sulfur to lower pH
Healthy soil should be slightly acidic to neutral for most plants.
6. Let It Rest Before Using
Once you’ve mixed everything, don’t rush to plant immediately. Let the soil sit for a few days to a week. This allows microorganisms to re-establish and nutrients to stabilize.
Think of it as letting the soil “reset” before it goes back to work.
Best Additions to Revive Old Soil
Here’s a quick comparison of popular soil boosters:
TO CONTINUE READING THE ARTICLE PLEASE SEE PAGE 2